
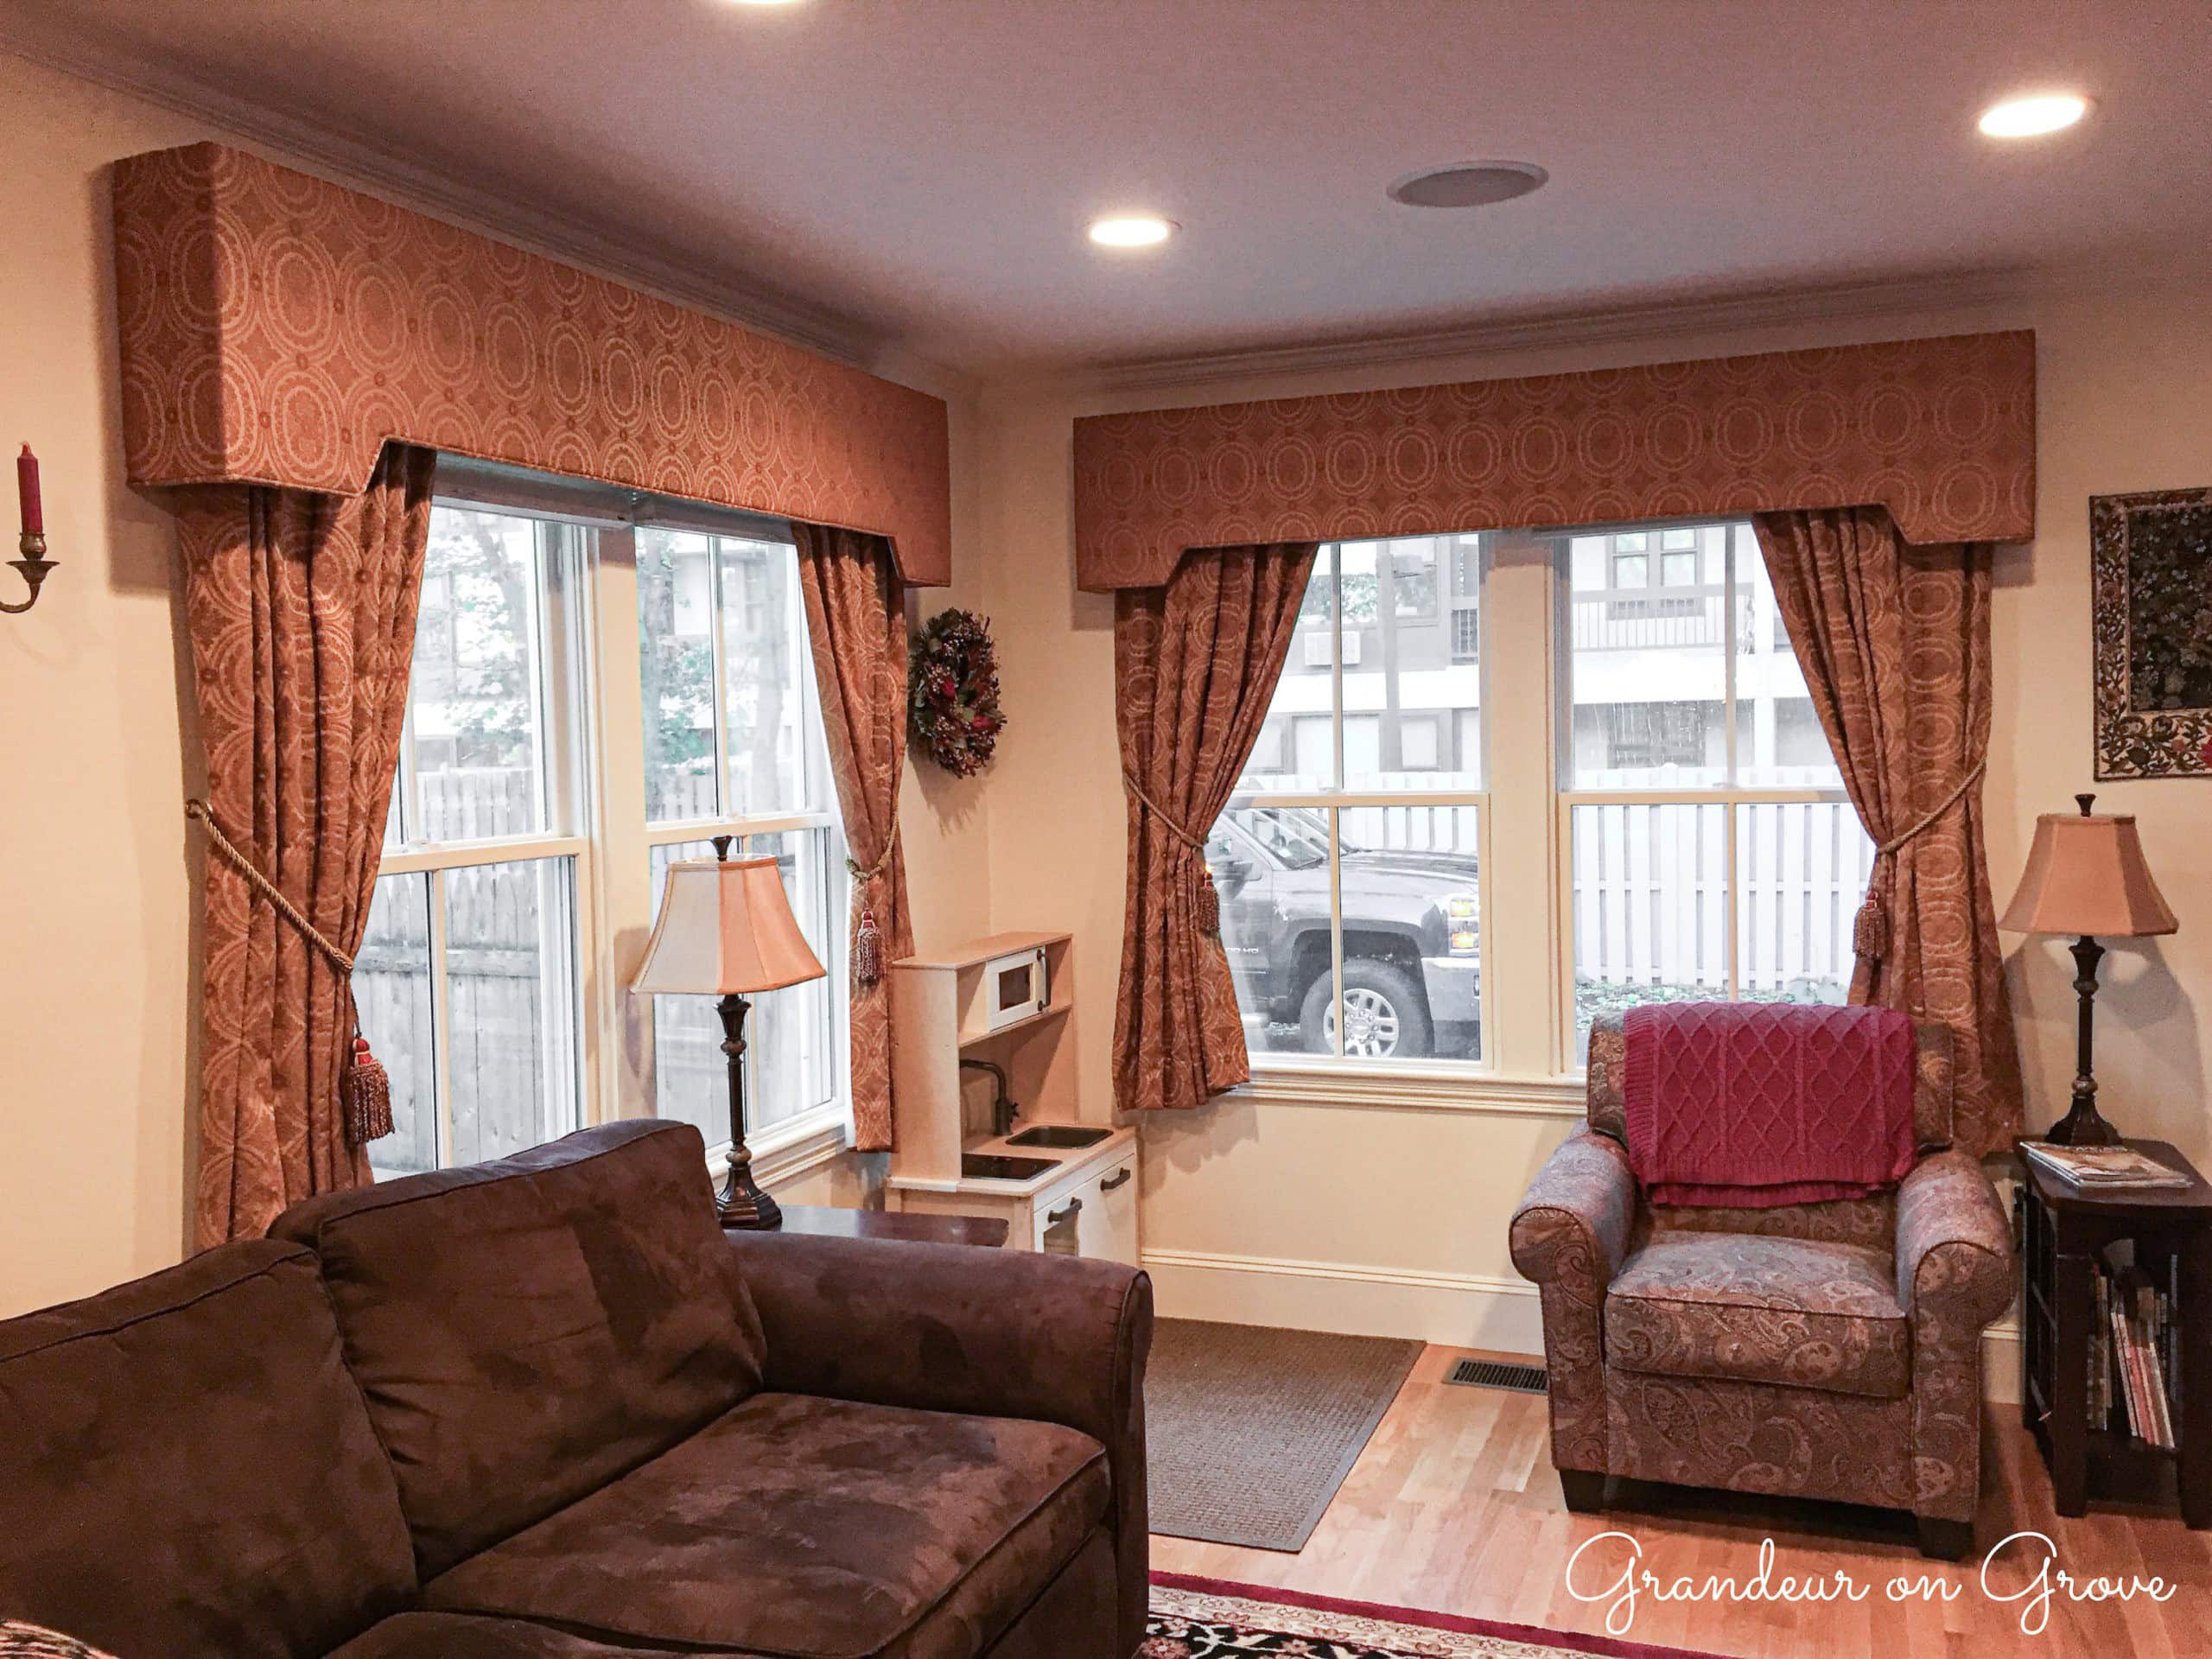
Our formal living room has two square windows, one on each side of the fireplace bump-out. They are very old hopper windows that open inward from a bottom hinge, but they are painted shut and currently inoperable. Because that room is a little dark and the windows are high enough to not have privacy concerns, I opted not to cover the windows. I wanted to allow maximum light in to the room. My husband, however, lamented the reflection they caused on our TV in the next room. He requested window treatments to solve his reflection issue.
Initially, I sewed some sheer fabric panels for the windows, but they didn’t cut down sufficiently on the reflection. I then decided on retractable roller shades in our wall paint color with a traditional scalloped decorative edge. They are mechanized to operate by remote control for easy operation, even from the TV room.
Functionally, the shades met our needs, but aesthetically, the rollers needed to be covered. The best window treatments for covering curtain and shade fixtures are either valences or cornices. While at my cousin, Kirsten’s, house, I observed some great cornices in her family room. I looked more closely and discovered that they were made of foam core! I decided to figure out how to make something similar for my windows.
WAYS TO CONSTRUCT A CORNICE
I had some prior experience with cornices. In our previous home, my mother-in-law, Karen, made us a cornice from a kit I found at JoAnn’s. It had stiff corrugated plastic boards as its form. She added batting and upholstery fabric and finished the edges with a beautiful, piped edge.

I also had my professional furniture upholsterer build and mount large wooden cornices in our living room. They were made of wood to be stable enough to cover the width of two full-sized windows.
As you can see, cornices can be made with a variety of materials. Most are upholstered with fabric. They can also be made of uncovered decorative metal. They are not appropriate for windows that open inward, as the cornice will obstruct that movement. Cornices can be shaped as a simple rectangle or they can have decorative edges such as those below.

 Source: http://www.windowtreatmentsbylinda.com/WINDOW-TREATMENT-STYLES.html
If you are pairing curtains with your cornice, be sure to make the cornice wide enough to allow for the stack back. Stack back is the space curtains take up when they are pushed open. Creating a wider cornice to accommodate that space means you can maximize the light coming through the window.
MAKING MY CORNICES
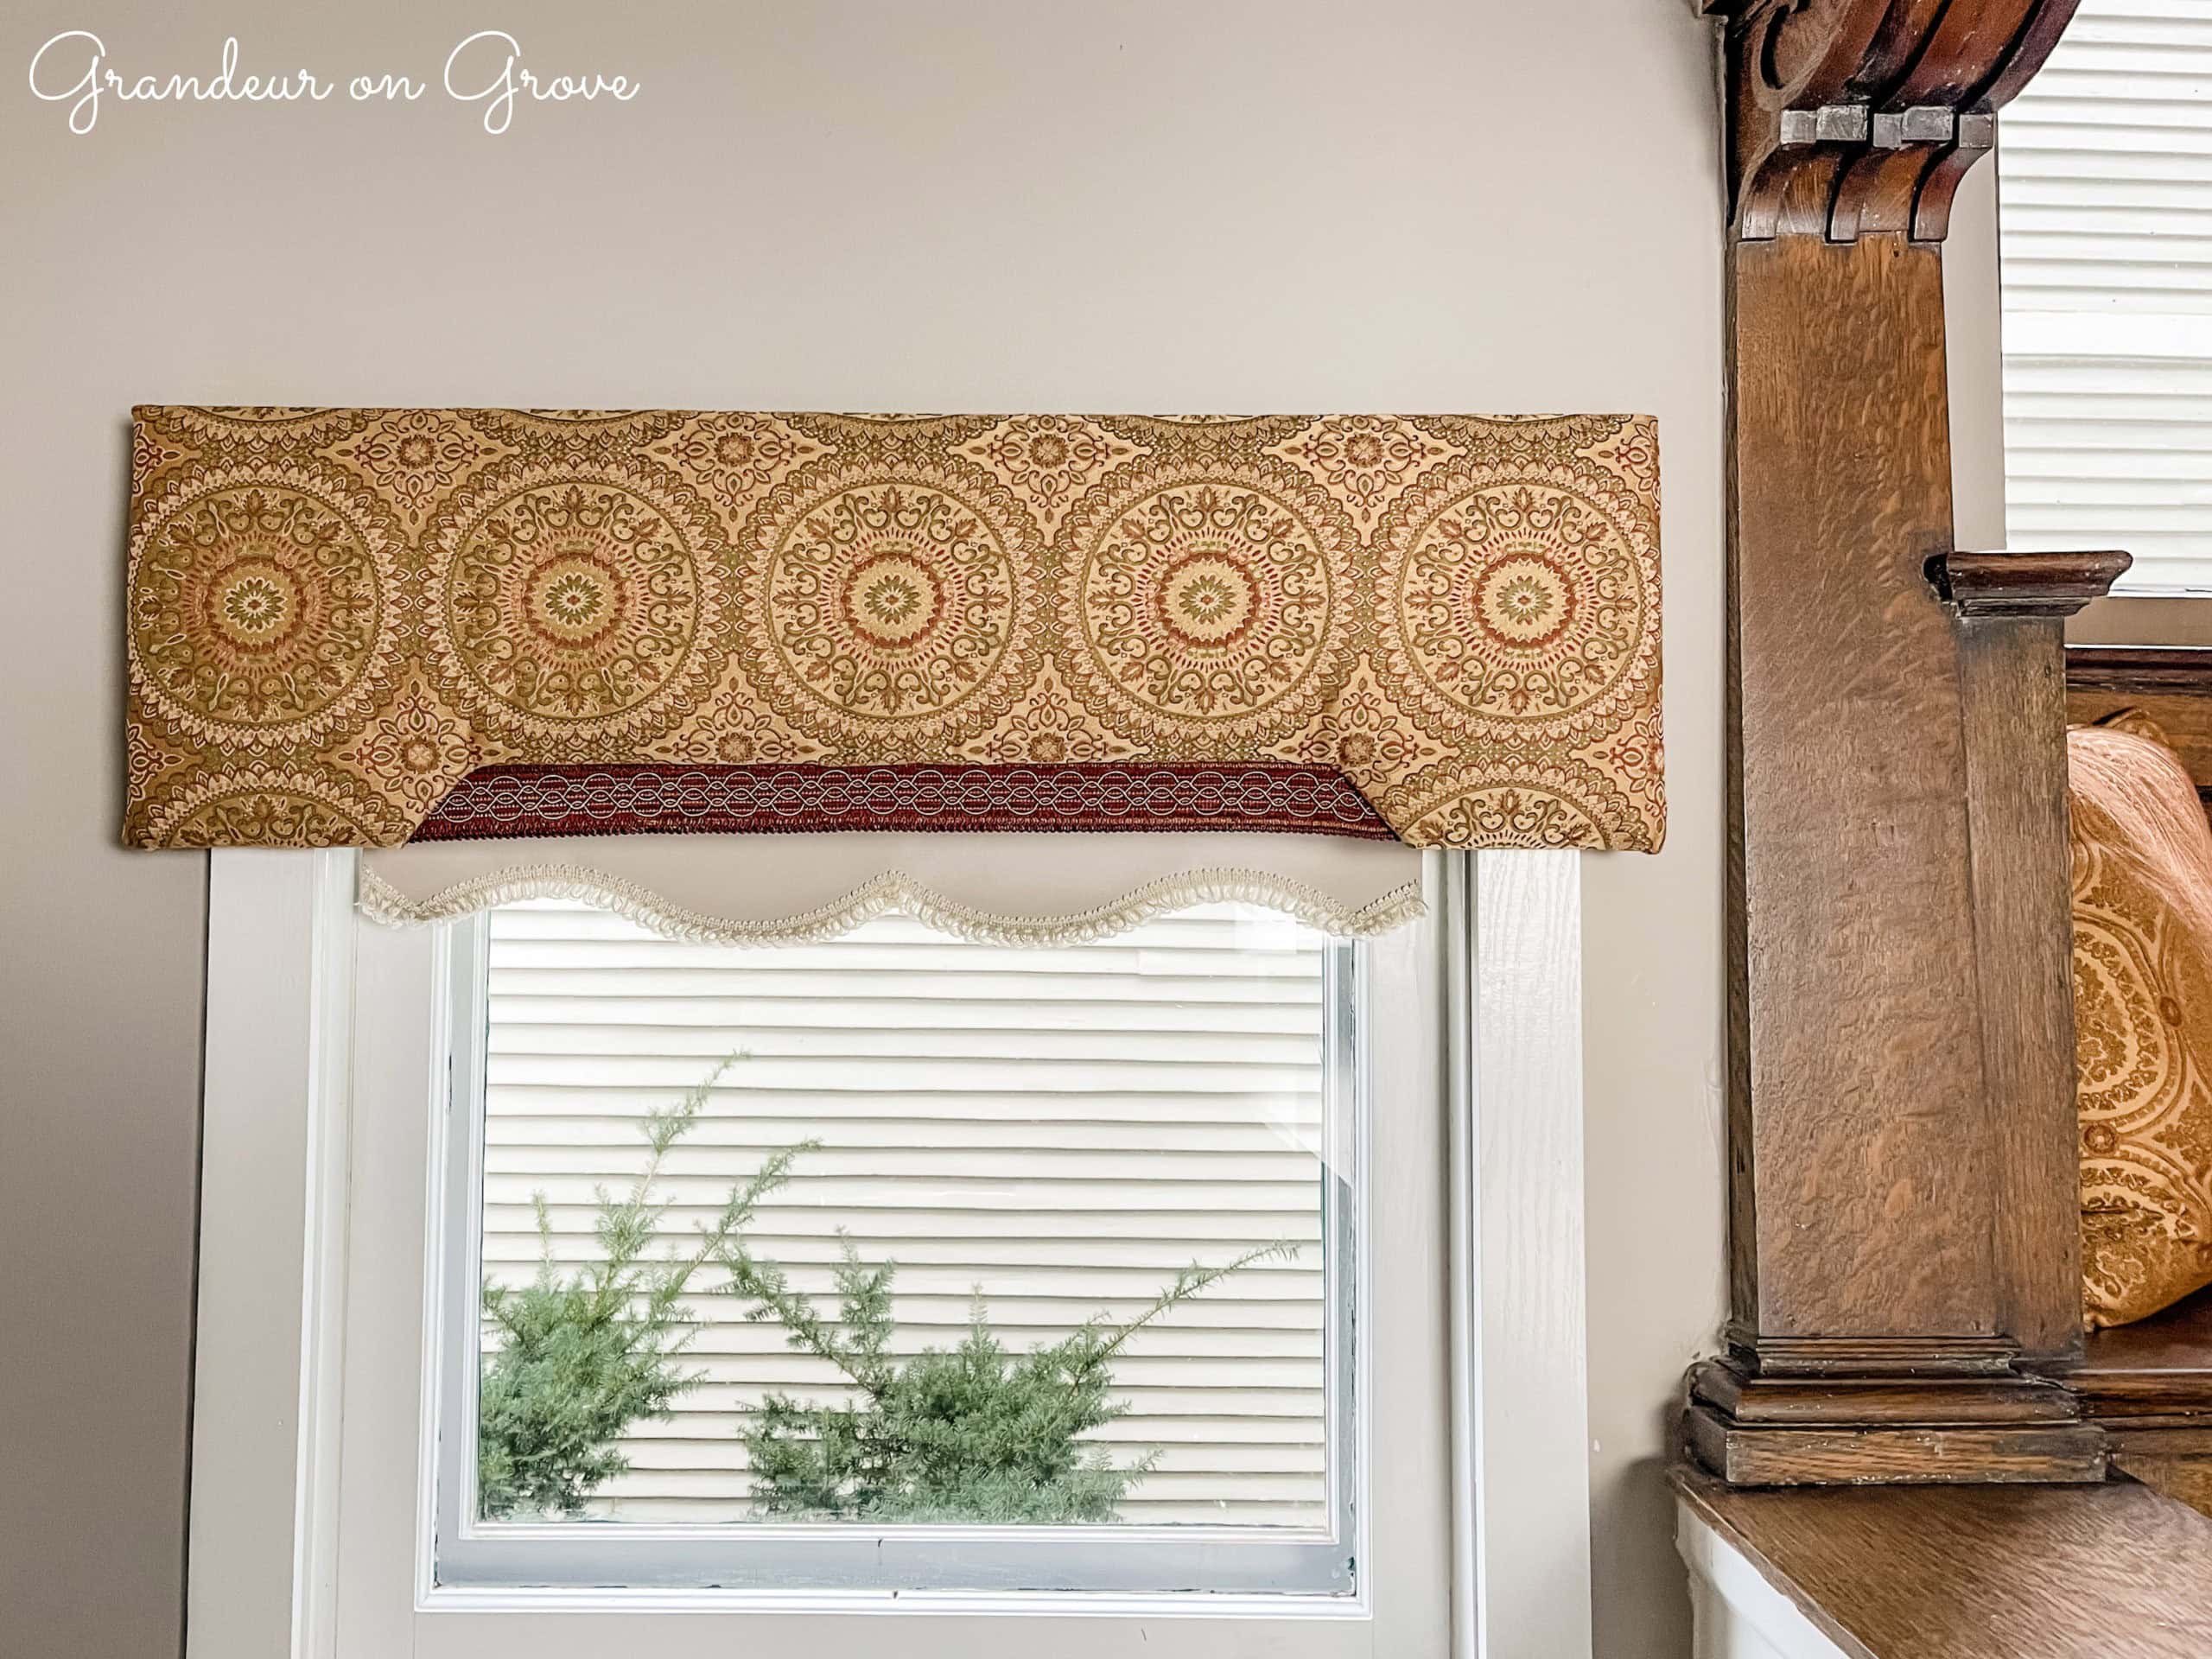
These were the first ones I’d be making myself. I liked that the foam core would result in lightweight cornices that could be easily hung. I decided to use the remnant fabric from a chair upholstery project. I also added some decorative trim in an unusual way. I needed to make two matching cornices to provide symmetry for the windows on both sides of the fireplace.

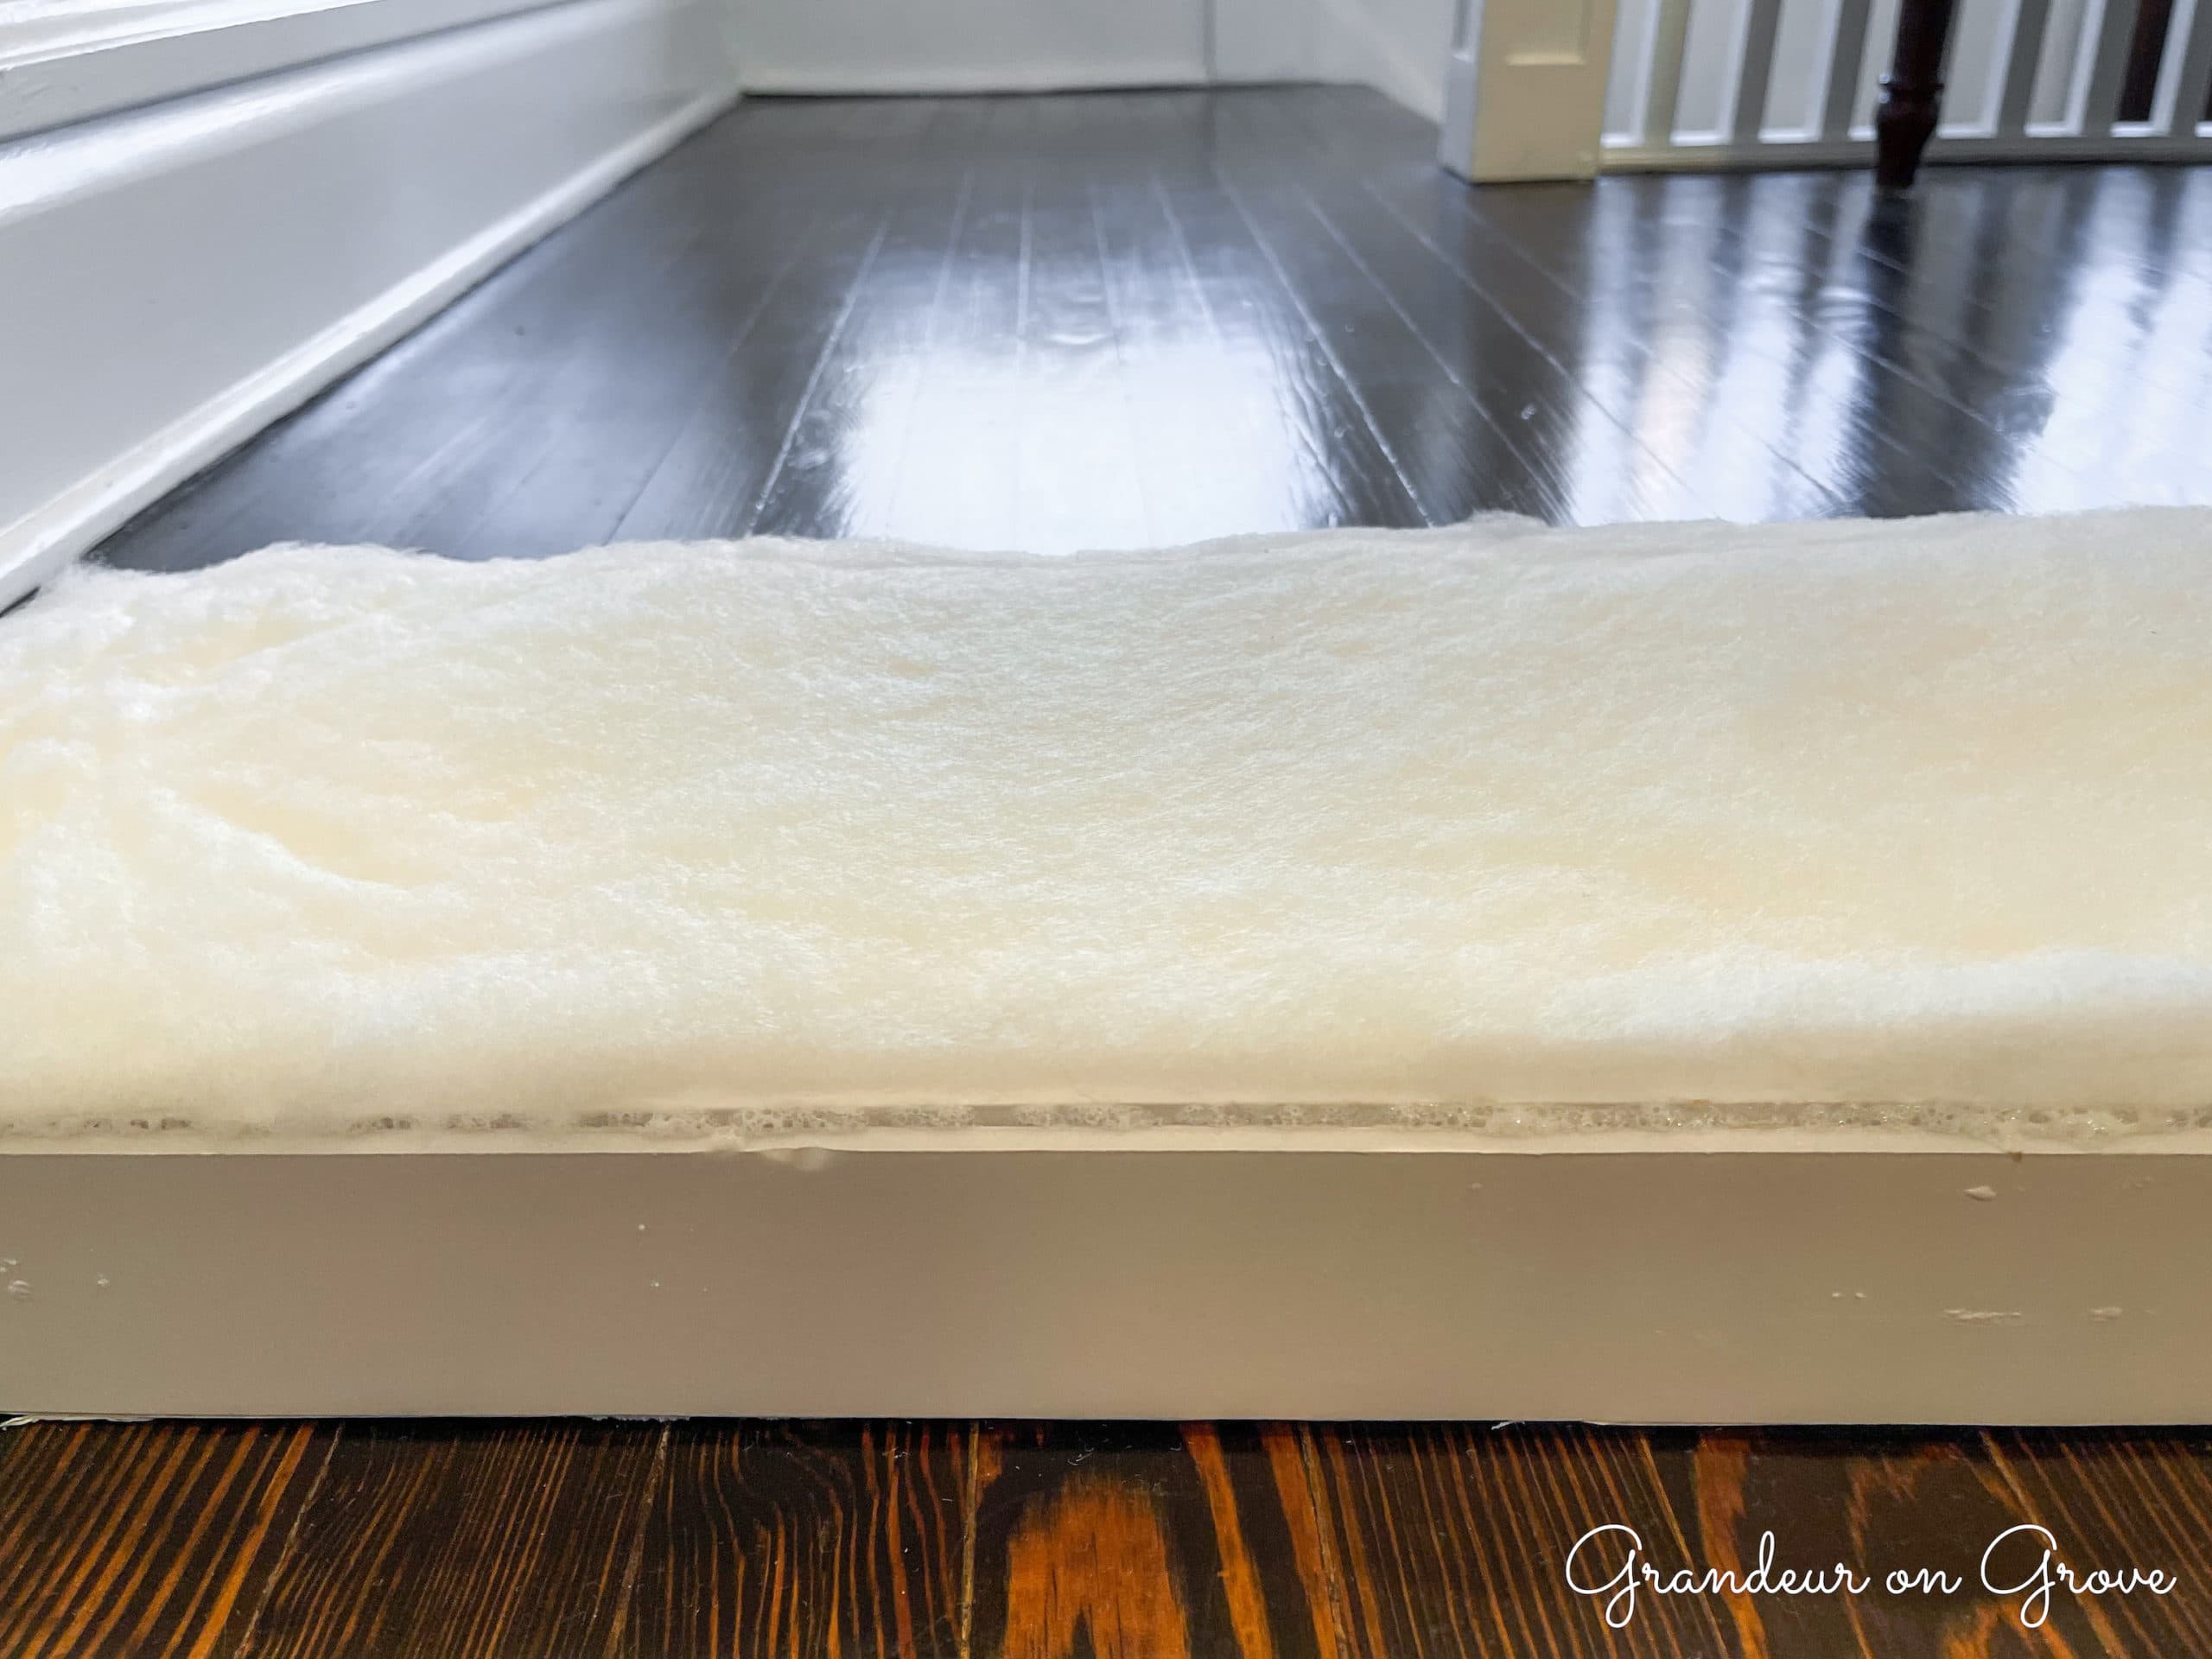
I learned many lessons during this DIY project. My cousin used Gorilla Glue to hold her foam core pieces together and a staple gun to attach the fabric to the foam core. Initially, I decided to use E6000 glue, because, in my experience, it had a strong hold, dried clear, and didn’t expand in the messy way that Gorilla Glue does. Unfortunately, it did not work on the foam core surface, so I did use white Gorilla Glue in the end. I could not use a staple gun for my project because my foam core was only ¼” thick and the staples poked through to the other side. I would recommend using a thicker foam core so that you can use a staple gun. I ended up using superglue, which is not ideal, as you need a lot and it’s a bummer when you get it on your fingers. It does dry quickly, though, and has a good hold.
SUPPLIES
Needed supplies include: tape measure, heavy duty X-Acto knife, foam core, Gorilla Glue, paper towel, polyester batting roll, upholstery fabric, fabric scissors, sewing pins, clips, superglue or staple gun and staples, 3M Command Strips, and a level.
INSTRUCTIONS
1. Use a tape measure to measure the window from outer window trim to outer window trim. Add one to two inches to each side.
2. Determine how tall you want the cornice to be. Remember to cover the mechanics and add some extra inches to the height of your liking.
3. Use a heavy-duty X-Acto knife to cut the front panel out of the foam core. Add any decorative bottoms cuts (see examples above). Be sure your front panel is tall enough that your hardware will be covered.
4. Measure the desired depth from the wall and add 1-1.5 inches.
5.Cut two side panels out of foam core to the necessary depth. Cut a top panel of foam core the length of the whole cornice at the same determined depth.
6. Use Gorilla Glue to glue foam core pieces together. I cut small squares of foam core to use as stays to help the pieces dry at right angles. As the glue expands, use a paper towel to gently wipe away excess that appears on the “good side.” Let it dry completely.


7. With a polyester batting roll, cut a piece to fit the front panel. You could also curve the batting around the sides and top if want your cornice to be extra poufy. Use Gorilla Glue to attach batting to the board. Let it dry completely.
8. Taking your upholstery fabric, line up the pattern as you want it to appear on the front of the cornice. Using fabric scissors, cut upholstery fabric generously, remembering to leave enough fabric to wrap around the sides and the top. Allow extra fabric to attach to the backside.

9. Using sewing pins, attach the fabric to the batting to hold the pattern in place.

10. Turn it all over to work on the backside. Start pulling the fabric tightly around to the backside and hold it in place with clips. Cut small notches if you have a decorative pattern on the bottom that requires a curve in the fabric.
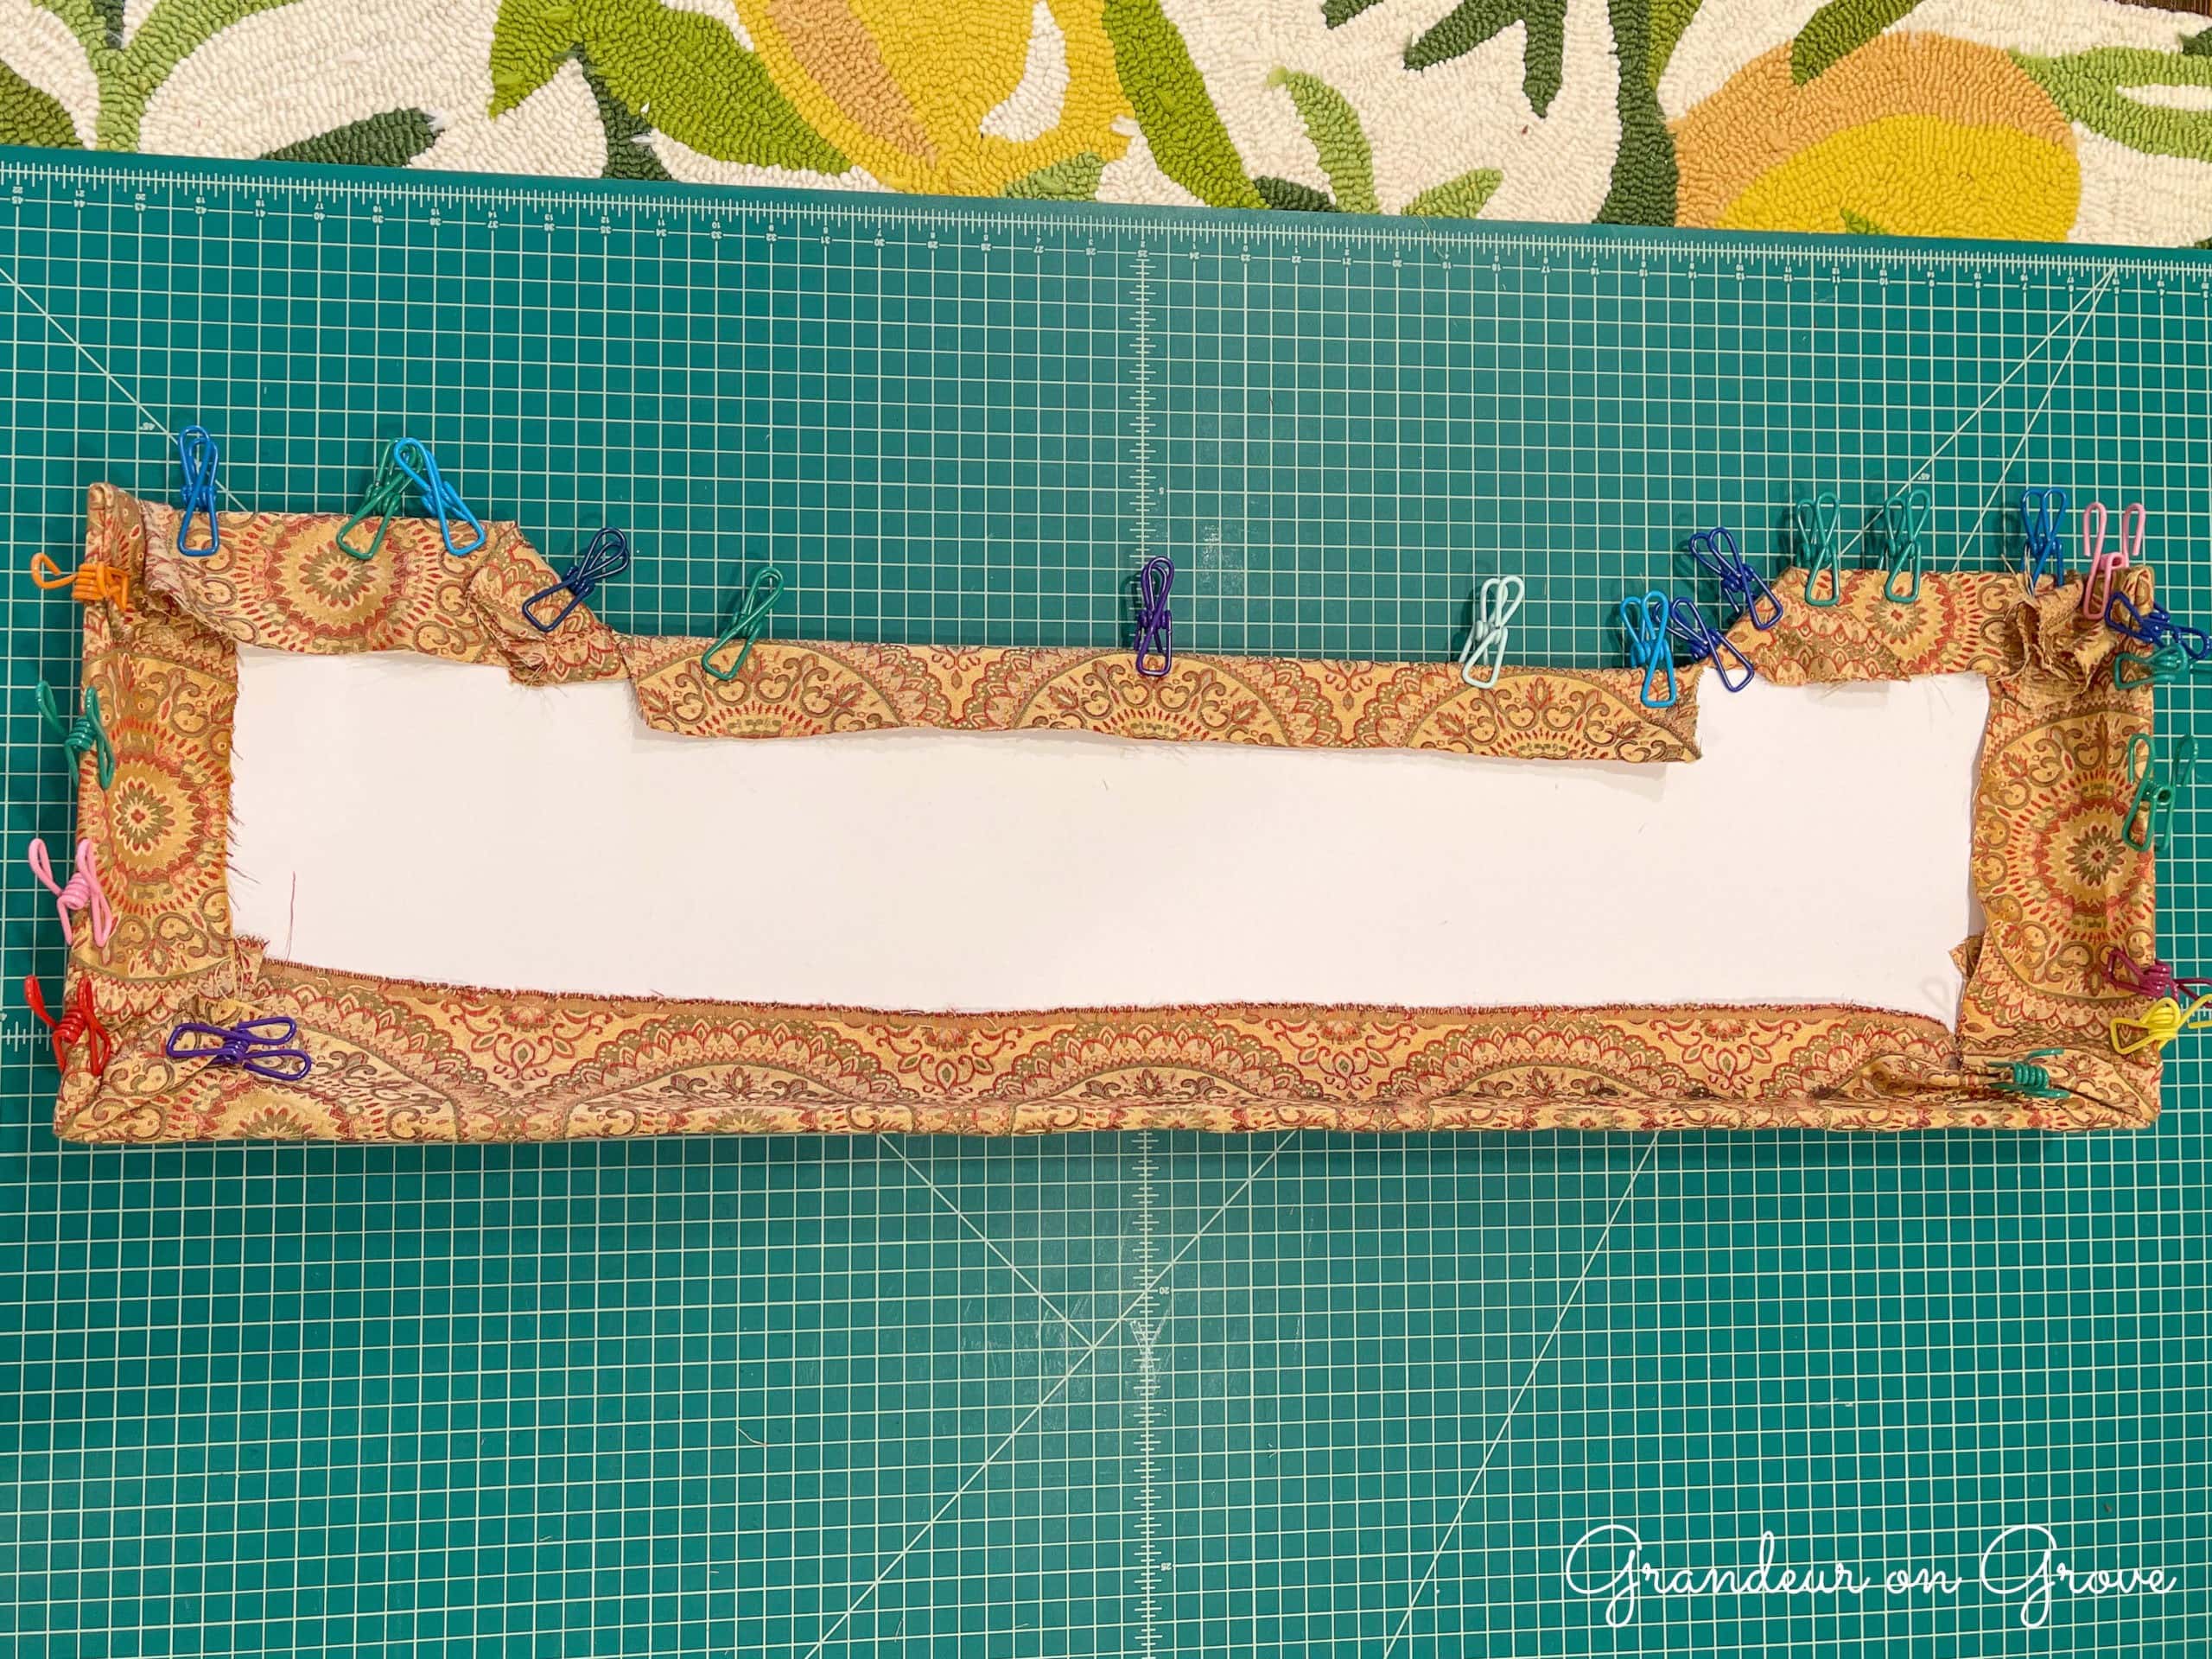
11. Once it’s all clipped, double-check the front to make sure the pattern is still correctly aligned.
12. Start gluing the fabric to the foam core with super glue. To do this, take off a clip, glue the fabric down, then put the clip back on until the glue is dry. –OR– If your foam core is thick enough, use a staple gun to attach fabric to the foam core. (I also added optional fabric trim to mine.)
13. Use 3M Command Strips to hang the cornice, as it is lightweight. Use a level to make sure it’s hung straight.
FINISHED CORNICES


 Questions? Contact us.

