I first learned of puff quilts via a Facebook quilting group, and a quick search of Pinterest informed me that they go by many names, including puff, biscuit, or bubble quilt. These quilts, comprised of individual, puffy squares, looked so delightful. I loved their texture and wanted to reach through the computer to squeeze them.
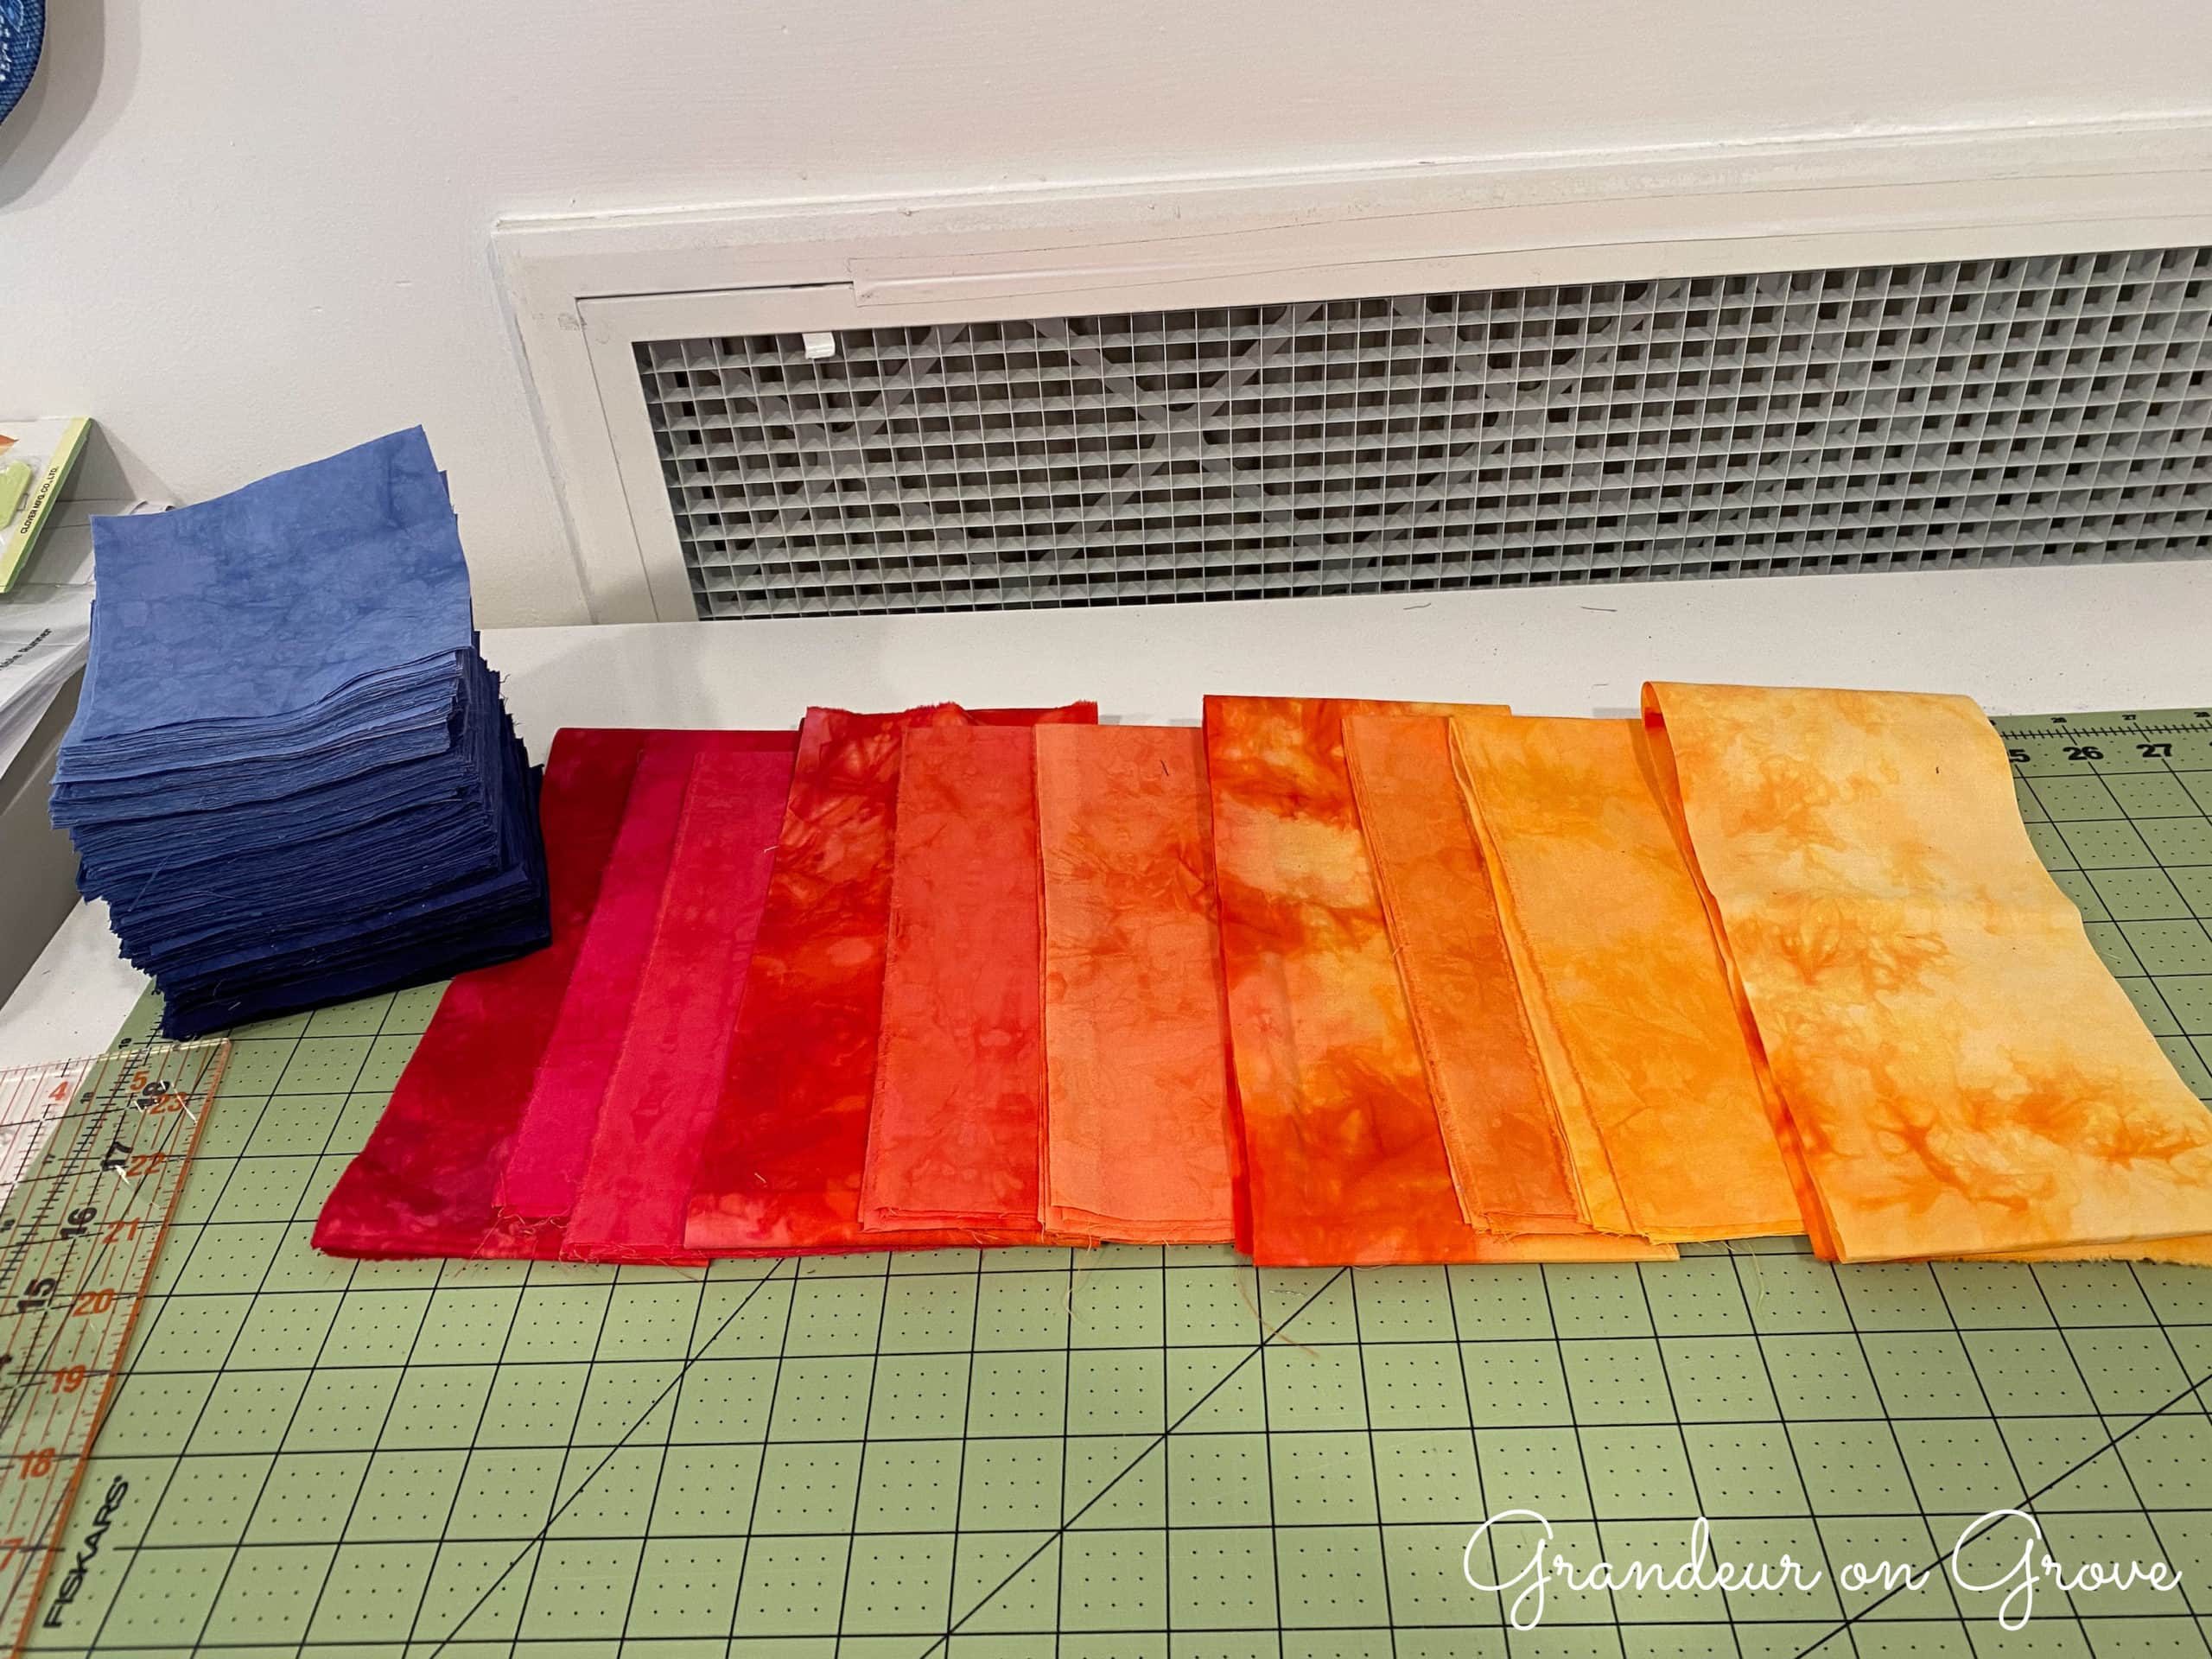
I thought my son would like the fun nature of such a bed topper and could snuggle under it on winter nights. He agreed and requested a mostly red quilt, red being his (and my) favorite color. I added navy and yellows into the mix to tie into his existing room décor. I found some wonderfully hand-dyed, saturated, gradient fabrics from ColorConnexion on Etsy.
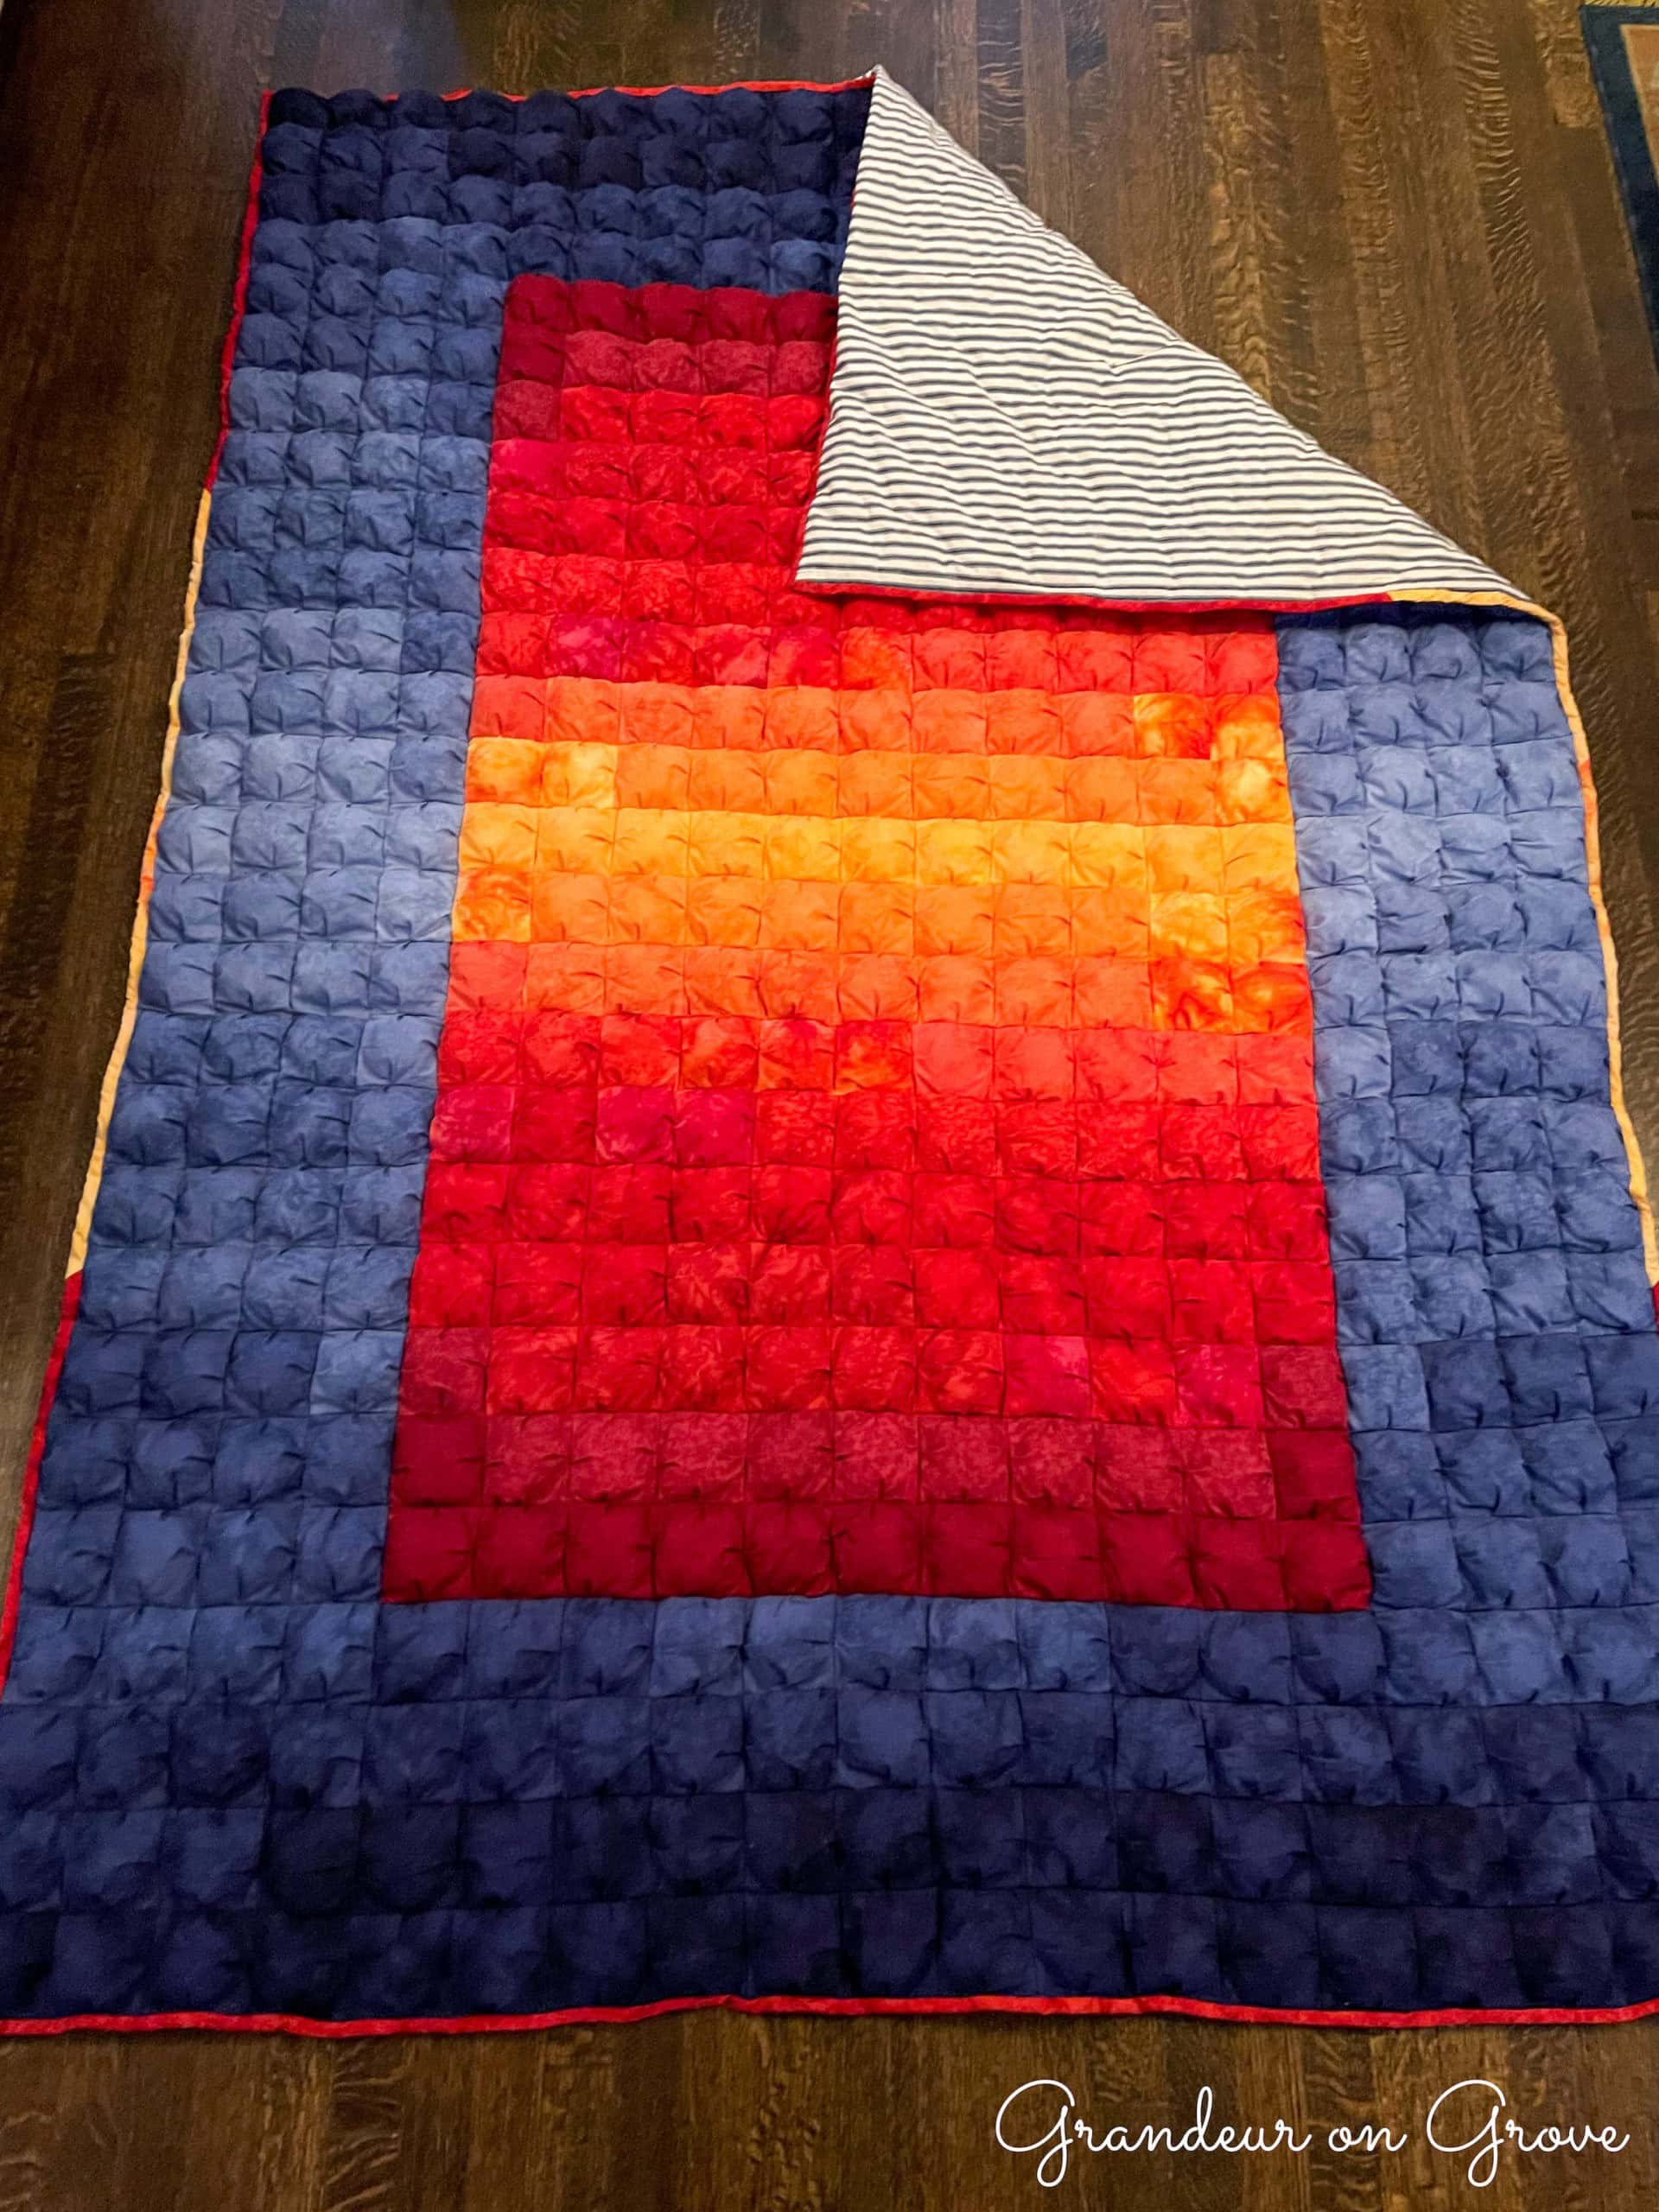
Unlike other quilts I’ve made, this one has a unique process, so I thought I’d share some information about how I made it. I loosely followed the instructions of Lo & Behold Stitchery. My quilt is 94” l x 63” w, to fit a twin-size bed, but you could make any size you wish. A quick explanation of making the quilt is that you create the puffs by sewing a larger fabric square to a smaller fabric square and filling it with Poly-fil. You sew the puffs into rows. I chose to quilt the backing fabric and the batting separately before sewing the puffs to the backing. The layers are held in place with hand ties using embroidery floss and the binding edge is hand-sewn. For my detailed steps, please see the end of this article.
I’d say that this quilt is for a beginner to intermediate sewing/quilting level. The trickier parts include:
- Matching up the corners of the squares
- Having a machine that can handle bulkier items
- Keeping the sewing straight while feeding a lot of fluff through the machine, and
- Being able to sew a scant ¼” seam
Once you learn how to make a square, you are set.
Pros of making this quilt
- There is no time spent ironing seams.
- The sewing skill level is low to moderate, as crooked stitching gets hidden among the puffiness.
- When sewing a quilt sandwich, you only have to deal with two fabric layers rather than three.
- You can easily customize the quilt by using your creativity to design your own pattern and alter the size by adding/subtracting rows to the length of width.
- The result is a very warm and cozy comforter.
Cons of making this quilt
- There’s lots of cutting–540 top squares plus 540 bottom squares. That’s over 1,000 squares to cut and 540 pockets to sew together.
- It takes a lot of time and requires lots of repetition. I highly recommend listening to an audiobook while cutting and assembly the squares to cut down on the monotony.
And here’s the fluffy final product:


Grandeur on Grove’s Steps For Making a Puff Quilt
To determine how much material you will need, see Lo & Behold Stitchery’s fabric chart. My twin quilt was 94” x 62”, with squares laid out at a 20 x 27 pattern. That’s a total of 540 squares, so I rounded up on the calculations between the large throw and the bed throw in the chart.
Note: Using Lo & Behold’s steps as an overview, I made many alterations, including changing the quilt size, creating my own pattern, stuffing an entire row at a time rather than individually, quilting the backing, and binding with non-visible stitching.
1. Cut 4 in. squares of scrap fabric—any cotton fabric will work as it will not be seen when the quilt is finished
2. Cut 4.5 in. squares of the fabrics you want showing on the top (front) of the quilt

3. Attach 4.5 in. squares to 4 in. squares by sewing three sides with a scant ¼” seam. Create one pleat in the top fabric, in the middle of the row, on each of the three sides, to create the space for the stuffing. There’s a good demonstration of this in Lo & Behold Stitchery’s video
4. Lay out the squares to determine the pattern, then divide them into rows.

5. Sew rows together with the opening of each square on the same side
6. Stuff the entire row of squares with Poly-fil. Using more fill makes the quilt heavier and stiffer. I used just under two bags of Poly-fil for the whole quilt.
7. Sew the entire row shut, creating a pleat in the center of each square as you did on the other three sides

8. Attach the next row, carefully matching up the seams of the squares
9. Stuff that row, then sew it shut (repeat steps 6-8 for all rows)
10. Once the top is complete, sew the backing (underside) fabric together, if necessary, to make it slightly larger than the completed top. I used extra wide fabric and it was wide enough for a twin bed without having to sew multiple pieces together.
11. Tape backing fabric to floor/surface with painter’s tape and lay thin batting on top. I used a thinner cotton batting than my go-to Warm & Natural, because the quilt gets heavy with all that stuffing. I used Quilter’s Dream Cotton batting. Flatten out the batting and baste it with the fabric
12. Quilt/sew these two layers together using a pattern of your choosing. I used straight lines to match the ticking stripes on the fabric
13. Tape quilted backing to the floor/surface and lay top puff quilt on top. Safety pin it throughout to hold in place

14. Sew edges of backing to the puff quilt around the four outer edges
15. Hand-sew hidden ties of color-coordinated embroidery floss throughout the quilt to hold the two pieces in place
16. Cut away extra backing and batting
17. Machine-sew the binding fabric (I used 2.5 in. strips, ironed in half) to the top layer of the quilt
18. Hand-sew the binding to the back side of the quilt
Have questions? Contact us.